Monday, September 24, 2012

Old Dresser Redo - Faux Distressed Finish Tutorial

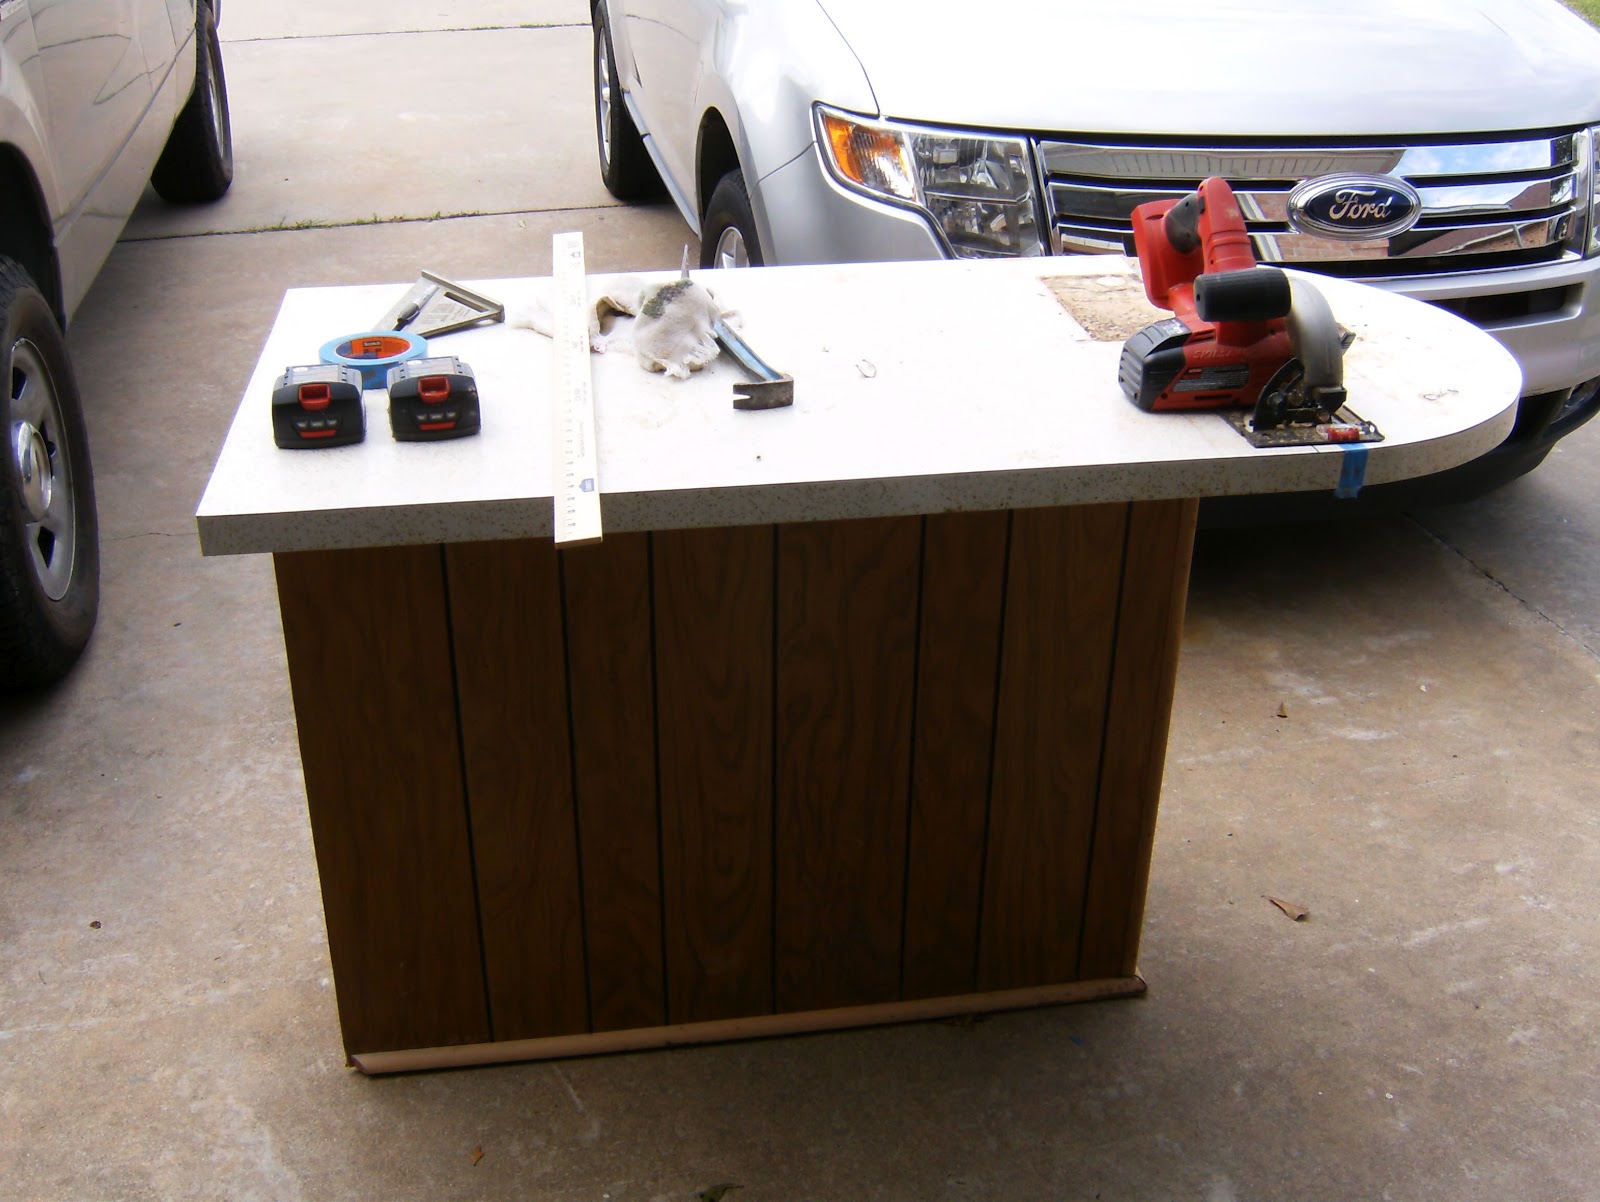
Hey there, well I just want to show you a tutorial of how I made this old worn-out dated dresser into what I think is a beautiful "new" distressed dresser for my vintage baby nursery.  The steps to take are really easy, but it will take a little time.  The first thing I did was remove the drawers.  Using my electric hand sander with about a 60-80 grit, I sanded it all down to the bare wood.  This dresser had a slick, shiny finish on it so that is why I sanded it completely to the bare wood.


BEFORE

AFTER

At this time I noticed that there were a few little boo boos on the wood that needed repairing, like wood glue and wood filler here and there.  I did this in the places needed.  I also wanted to add baskets or bins in place of the bottom two drawers so my sweet hubby cut out a piece of luan board to fit the bottom and now it is ready for painting.  I wanted to paint it a light blue/teal color and I found this beautiful color, High Noon from Lowe's.  I am using several different distressing techniques on this one so you can do as few or as many as you wish.  The first thing I did was to use the vaseline technique.  (Sorry, I forgot to take a picture of this, but just wipe some vaseline in different places that you will sand off later.  Usually on the corners, and other places that will look like the furniture has been worn.  These are the darker places on my after picture).

The next step is to paint the dresser and the drawers in this color.

You just paint right over the vaseline...


Next, I am using a technique I saw on youtube by BeachBumLivin.  I thought this technique was kinda neat so I wanted to try it.  First you get a dry brush and I used a dark brown paint that I had lying around and just lightly painted a few swipes on the dresser and drawers like this...


 paint swipes with brown paint...


Next do the same thing in a few different places with white paint.  Remember, use a dry brush and lightly swipe the brush across the wood.  It is very subtle.  If you need a better look at how to do this go to youtube and look at BeachBumLivin.  He has a few great tutorials.

Paint swipes with white paint...


My next step was to start sanding or distressing.  (You can check out the tutorials on youtube by Alchemy Fine Living).   I used a about an 80-100 grit, you might have to see what works best for you.  Just start sanding in the places you want the furniture piece to look old and worn.  If you used vaseline, then you will sand those places and really see what I mean.  It looks so good when you start sanding off the paint in the vaseline places!


The next step, should you choose to do this, is to add a little brown glaze.  I used Valspar transclucent glaze in mocha (I had this on hand, but they no longer make this color)  I'm sure you can find a dark glaze made by someone else though.  I just lightly wiped on some glaze and then wiped it off.  Just use enough to your particular taste.


This is a picture of the finished dresser that will go in my vintage baby nursery.  Oh, did I mention that I am about to be a grandma?  To twins, a boy and a girl.  That's why I have the pink and the blue bins.


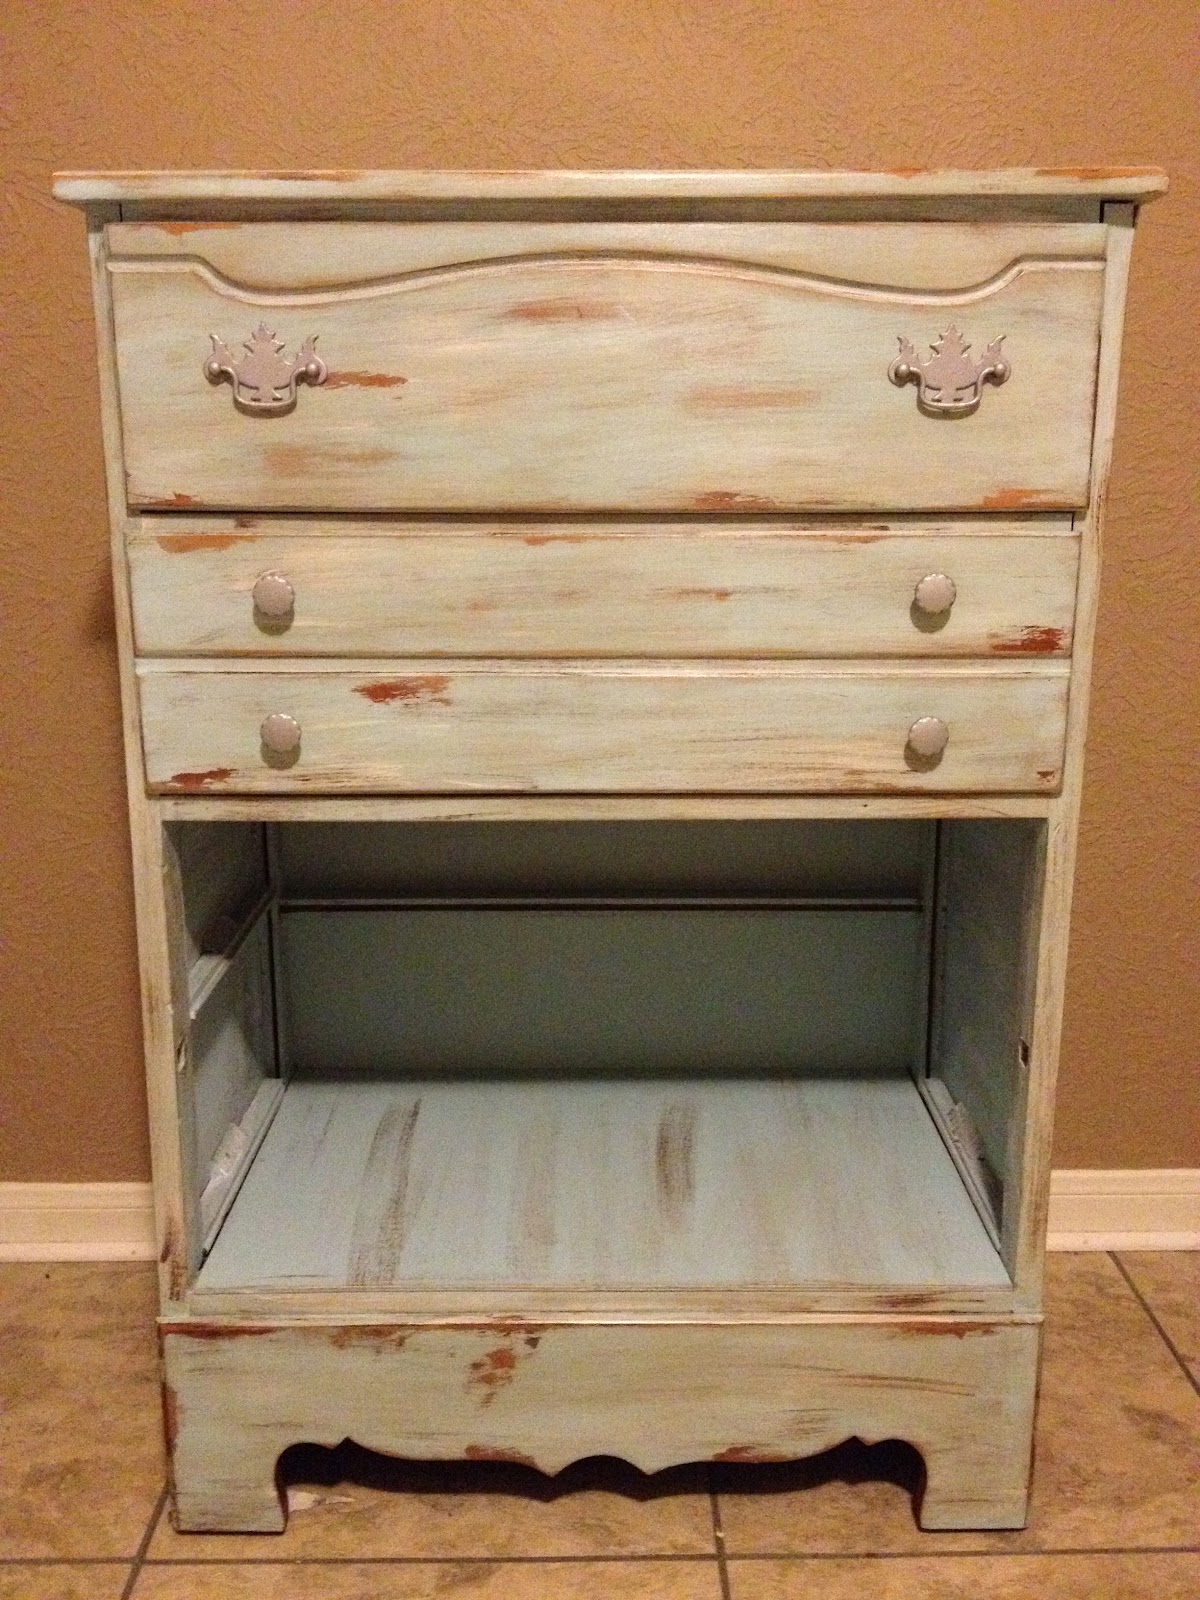
I also decided to add a coat of clear polyurethane to add a little shine and I spray painted my handles and knobs a hammered silver color.

Well, happy distressing everyone.  You can't really mess this one up!


Monday, September 17, 2012

Kitchen Island/Bar Makeover


Just wanted to show you a few pictures of a kitchen island/bar that my son and I made out of an old bar/counter that we found on the side of the road.  First we drove by it a few times to make sure it was something we could use and then finally went by and picked it up (when no one was looking, of course!)  Next we cut off the rounded part (because I knew when we tiled it that I would not be able to tile it on a curve).

Next, my son placed some leftover tiles that we had in a pattern that he wanted and then stuck them down with tile adhesive and grouted them.  Didn't he do a great job?
After that, it was just a matter of painting it and then adding a few special features like a basket and paper towel holder.  We painted it red with off white on the inside shelves to go with his new gray, black, white and red kitchen!

Monday, July 9, 2012

My Pinterest Island Dress


I saw a cute pattern for a maxi dress on Pinterest the other day and just knew it was something that I could do.  So I went to Hobby Lobby and found some scrumptious tie-dyed material and brought it with me to my lake house for the 4th of July week.  While hubby was playing golf one day, I drug out the old sewing machine and started sewing.  Actually this pattern requires very little in the way of cutting a pattern and not much sewing.  Very easy.  One thing though, at first I didn't think I got enough material to actually be a maxi dress, but I really wanted one that went above my ankles.  I am 5'4" and bought a yard and a half of material and it goes to about mid-calf or so.  Just perfect.  I will provide the link for the dress instructions here sharonsews.blogspot.com/2011/06/diy-easy-to-sew-strapless-maxi-dress.html.  Here is a picture of my dress that can be worn different ways.  Hope you like it.

Thursday, May 17, 2012

Farm Coffee Table Re-do


Check out this old table I dug out of our storage shed at the Farm.  As I may have told you, my boys are moving out soon so I have redone this old table into a coffee table for their new home.  Hope they like it!

Monday, May 14, 2012

Painting a Refrigerator


Today i'm posting before and after pictures of a refrigerator re-do.  Have you ever painted one?  Well, just letting you know that the Rustoleum Appliance Epoxy spray paint does a great job.  I was a little skeptical at first, but really didn't have anything to lose.  My boys are working on a house that they are about to rent and they got this free refrigerator, but it just happened to be white and they wanted black.  So, off to Lowe's we go.  I had researched it a little bit on the internet before trying it.  All we did was clean the fridge, lightly sanded it, and then sprayed it.  We did it all with 3 cans of paint.  I think it looks great!

Mother's Day Picture


By the way, here is a picture of my mother and me on Mother's Day a few years ago.  I forgot to take some yesterday, so i'm using this one.  Hope your day was great.

Sunday, May 13, 2012

Happy Mother's Day

Well, everyone, here it is, the mother of all days. I hope you were all able to spend time with your mother either in person or by phone today. Me, I'm blessed with three sons and a daughter-in-law. So, if you haven't already, tell your mom you love her and how special she is to you.